In a world increasingly reliant on uninterrupted power, a reliable backup system isn't just a luxury—it's a necessity. At the heart of many of these systems lies the manual transfer switch, a crucial yet often overlooked component that ensures your lights stay on, your refrigerator keeps running, and critical medical equipment remains operational when the grid falters. But just like any vital piece of equipment, a manual transfer switch (MTS) demands regular attention. Neglecting Manual Transfer Switch Maintenance & Troubleshooting isn't just risky; it's an invitation for failure precisely when you need it most.
This comprehensive guide will arm you with the knowledge to keep your MTS in peak condition, understanding its nuances, and confidently addressing common issues. Think of it as your essential handbook to safeguarding your backup power investment.
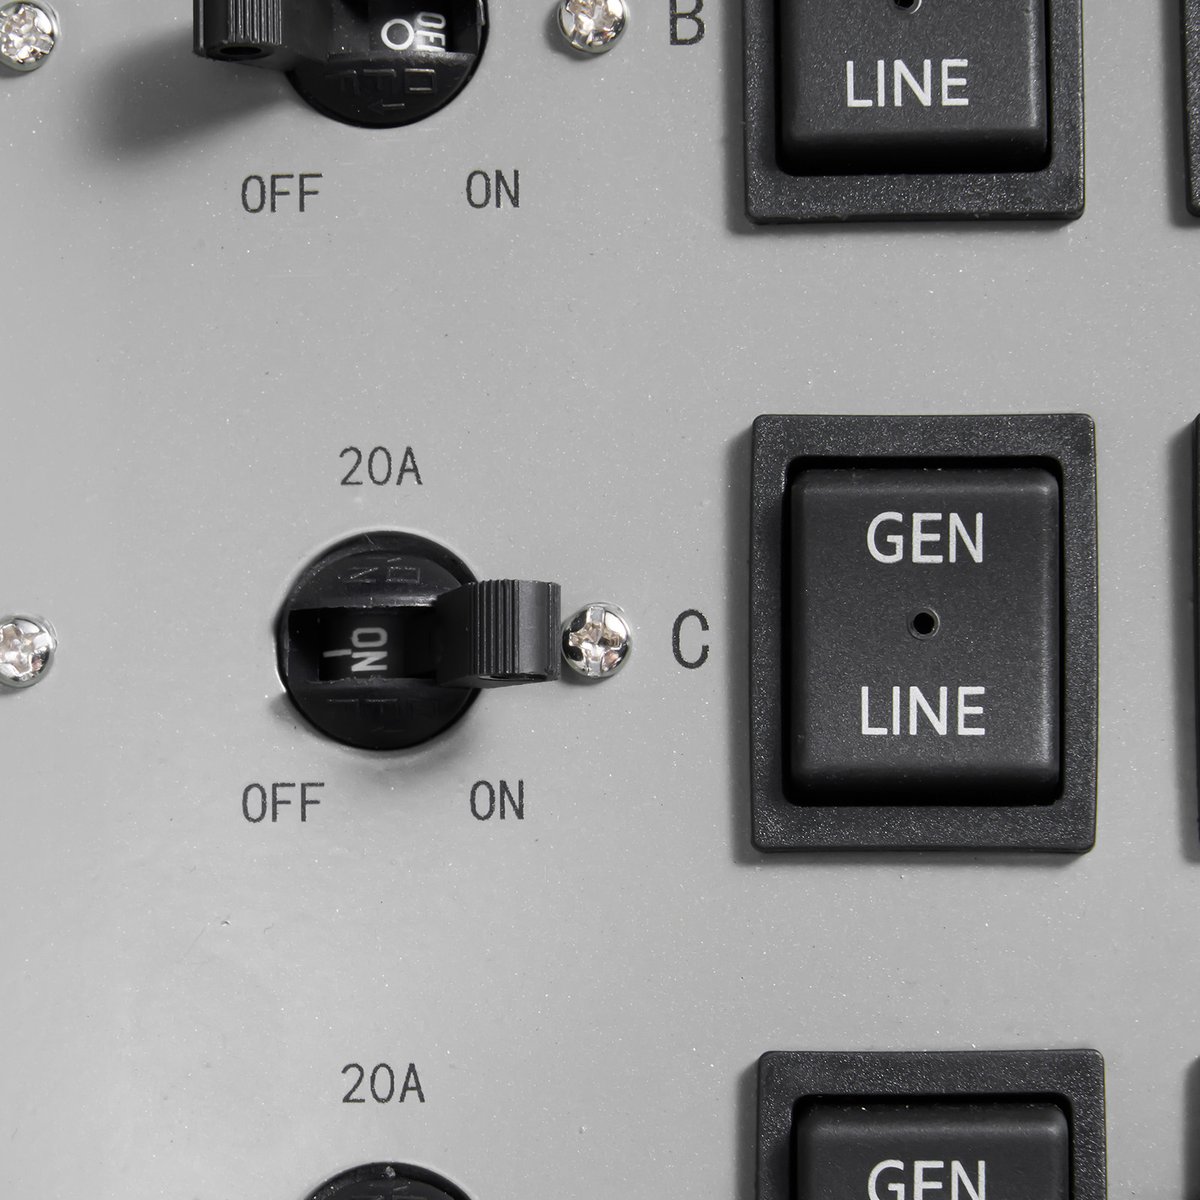
At a Glance: Your MTS Maintenance & Troubleshooting Checklist
- Weekly: Perform quick visual checks for cleanliness and debris.
- Monthly: Test your generator and transfer switch under load for at least 30 minutes, checking for sounds and visual cues.
- Annually: Schedule a qualified technician for a deep inspection, including thermal scans, contact inspection, and automated testing.
- Safety First: Always de-energize before any hands-on work. High voltage is lethal.
- Troubleshooting Basics: Start with power checks, inspect connections, and look for obvious physical damage.
- Professional Help: Don't hesitate to call a certified technician for complex issues or internal component replacement.
Why Your Manual Transfer Switch Deserves Regular TLC
A manual transfer switch acts as the gatekeeper between your home or business's electrical system and two distinct power sources: the utility grid and your backup generator. During a power outage, you manually switch from one source to the other, isolating your property from the grid while connecting it to your generator. This isolation is paramount for safety, preventing dangerous back-feed into utility lines that could injure linemen working to restore power.
Because it handles substantial electrical loads and is often exposed to environmental factors, an MTS is subject to wear and tear. Over time, connections can loosen, contacts can corrode, and dust or debris can accumulate, all of which compromise its ability to perform reliably. Regular maintenance isn't just about preventing breakdowns; it’s about ensuring safety, extending the lifespan of your equipment, and guaranteeing that your backup power system actually works when the chips are down. It's about proactive care that pays dividends in peace of mind.
Your Maintenance Playbook: A Scheduled Approach
Effective maintenance doesn't happen by chance; it follows a clear schedule, evolving from simple visual checks to comprehensive professional inspections. This tiered approach ensures all critical aspects of your manual transfer switch are regularly assessed and addressed.
Weekly Check-ins: Quick Visuals for Early Detection
These are straightforward inspections you can perform yourself, designed to catch minor issues before they escalate.
- Open and Observe: Carefully open the switchgear cover. Take a moment to visually examine the internal components. Look for anything out of the ordinary: unusual colors, signs of overheating, or excessive dirt.
- Cleanliness Counts: Dust and debris are common culprits for electrical issues, leading to poor connections or even arcing. Use a vacuum cleaner with a brush attachment or a clean, dry microfiber cloth to gently remove any accumulated dust or foreign material. The goal is to keep the internals pristine.
Monthly Drills: Testing Under Load for Real-World Readiness
This step is crucial for verifying that both your generator and your manual transfer switch operate correctly under actual demand. It's a dress rehearsal for an actual power outage.
- Simulate an Outage (Safely): Follow your generator manufacturer's instructions for safely starting your generator and activating your manual transfer switch to provide power to your facility. Most experts recommend testing under a realistic load, simulating conditions you'd experience during an actual outage.
- Run Under Load: Test your generator and transfer switch under load for a minimum of 30 minutes. The National Fire Protection Association (NFPA) specifically recommends that diesel generators be tested at a minimum of 30% load for at least 30 minutes each month. This ensures the generator gets sufficient exercise and burns off unspent fuel, preventing "wet stacking."
- Inspect During Operation: While the system is running, carefully inspect the interior of the switch box for cleanliness and debris.
- Listen and Learn: Pay attention to any unusual sounds—hums, buzzing, clicks, or grinding that weren't present before. These can be early indicators of mechanical problems.
- Terminal Check: Look at all terminals and connectors. They should maintain their normal color. Discoloration, especially dark spots or charring, can indicate overheating due to a loose connection.
- Wiring Assessment: Visually inspect the condition of all wiring and insulation. Look for cracks, fraying, or any signs of heat stress.
- Secure the Covers: After your checks, ensure all covers, panels, and access doors are securely fastened.
- Return to Auto/Standby: Once the test is complete, properly shut down your generator and return the manual transfer switch to its normal utility power position, then set your generator to "auto" mode so it's ready for an actual emergency.
Annual Deep Dive: When to Call a Pro
While weekly and monthly checks are essential, your manual transfer switch requires a thorough inspection and advanced testing by a qualified, certified technician at least once a year. This isn't a DIY job; specialized tools and expertise are needed to ensure the highest level of reliability and safety.
- Infrared Scans (Thermal Imaging): Technicians use infrared cameras to detect potential hot spots within the transfer switch and related electrical components while the equipment is operating. Hot spots indicate excessive resistance, often due to loose connections or impending component failure.
- Strict Safety Protocols: Before any hands-on work, the technician will de-energize the equipment and meticulously inspect the surrounding area for any hazards. This is a critical step; remember: Hazardous voltage can cause severe injury or death. Always de-energize the normal power source before working, and ensure proper grounding. Only authorized personnel should ever open the enclosure for internal work.
- Contact Inspection: This involves removing arc chutes and pole covers to visually inspect the main and arcing contacts. The technician looks for signs of pitting, erosion, or carbon buildup, which can impair proper current flow and switching.
- Testing and Calibration: For more advanced manual transfer switches or those integrated with control panels (as some are, especially in commercial settings), technicians will test and recalibrate AC trip sensing and time delay functions. They'll record and verify that current settings align with your application's specific needs.
- Interior Deep Cleaning: The technician will thoroughly check for dust, debris, and other contaminants. They'll use a vacuum or soft cloth for cleaning. Crucially, compressed air is never used, as it can force debris further into sensitive areas or generate static electricity that could damage electronics.
- Moisture and Corrosion Watch: The technician will meticulously look for any signs of moisture, wetness, or corrosion. If found, they'll clean affected areas with a safe cleaning solvent (e.g., rubbing alcohol and a microfiber cloth), always verifying compatibility with the manufacturer's guidelines first.
- Insulation Integrity Check: All insulation is inspected for cracks, brittleness, or discoloration, which can indicate excessive heat exposure over time.
- Arcing Contact Specifics: Particular attention is paid to the main arcing contacts for signs of corrosion or significant pitting. Worn or damaged contacts are replaced promptly to prevent future transfer issues and ensure efficient power delivery.
- Manual Operation Test: The technician will manually operate the main switch mechanism to ensure proper movement, contact alignment, appropriate gap between contacts, effective wiping action (contacts sliding across each other for better connection), and correct deflection. A smooth, firm operation is key.
- Cable and Connection Audit: All cables and connections leading to the controller (if applicable), sensing panels, and other system components are thoroughly inspected. Any loose connections are tightened to the manufacturer's specified torque values. Loose connections are a significant hazard, potentially leading to overheating, arcing, or even explosions.
- Automatic Transfer Tests (if applicable): For systems with automatic features or integrated controllers, the technician performs simulated tests, including loss of normal power, return to normal power, loss of emergency power, and various single-phase conditions to verify the system's responsiveness.
- Return to Readiness: After all testing and maintenance, the switchgear is reset to its "auto" or "utility" mode, ensuring it's ready to perform when needed.
Any worn, damaged, or malfunctioning parts discovered during this annual inspection should always be replaced by a qualified technician using manufacturer-approved components.
Safety First, Always: Navigating Your Transfer Switch
Working with electrical equipment, especially high-voltage components like a transfer switch, demands utmost respect and strict adherence to safety protocols. Your personal safety, and the safety of those around you, is non-negotiable.
- DANGER: Electromechanical Equipment: Always assume components can cause severe injury or death if improperly installed, operated, or maintained. This isn't hyperbole; it's a stark reality.
- WARNING: Hazardous Voltage: This phrase is a critical reminder. Before performing any work on the transfer switch, you must de-energize the normal power source. This means shutting off the main breaker from your utility provider. Additionally, ensure proper grounding of all electrical equipment. Never bypass safety interlocks.
- Authorized Personnel Only: The internal components of a transfer switch should only be accessed by authorized and qualified personnel. Do not attempt internal repairs or extensive inspections unless you are certified and experienced.
- Manual Operator Handle: Use the manual operator handle (if present) for maintenance purposes only, specifically for safely switching between sources as part of your monthly testing regimen. Never force it.
- Prevent Contamination: During installation or maintenance, cover the transfer switch to prevent foreign material contamination. Dirt, grit, metal drill debris, or even moisture can cause significant problems.
- Electrostatic Discharge (ESD): If your manual transfer switch has any electronic components or is part of a system with sensitive controls, be aware that ESD can damage circuit boards. Qualified technicians use proper grounding straps and anti-static procedures.
- Tighten Connections Correctly: Loose connections are a leading cause of overheating, arcing, and potential explosions. Always tighten all lugs and connections (engine start, input/output, auxiliary) to the exact torque values specified on the manufacturer's label or in their documentation. Over-tightening can also cause damage.
- Contact Resistance Calculation (for Technicians): For advanced diagnostics, a technician might calculate contact resistance using the formula: R = V ÷ I. Here, V is the measured voltage (in millivolts), I is the measured current (in amps), and R is the calculated resistance (in milliohms). If resistance is less than 1.24 MΩ, it may indicate a leakage current that needs to be isolated. This is a technician-level diagnostic.
When Things Go Sideways: Troubleshooting Common Manual Transfer Switch Issues
Even with diligent maintenance, issues can arise. Knowing how to systematically troubleshoot can save time and prevent further damage. It's important to differentiate between issues with the transfer switch itself and those originating from the generator or utility.
Important Note on Troubleshooting Details: The information below is generalized from complex transfer switch control systems (like those found in Automatic Transfer Switches or ATSs). A purely "manual" transfer switch might not have LEDs, exercisers, or intricate electronic controllers. However, the principles of checking power, connections, and mechanical operation remain vital. If your "manual" transfer switch includes any electronic monitoring or auxiliary controls, these troubleshooting steps become directly relevant. For very basic, purely mechanical manual transfer switches, focus heavily on physical inspection, connection integrity, and the generator's health.
- No Power/Display Blank (for MTS with auxiliary controls/LEDs):
- Check Power Sources: Ensure both the normal utility power and the generator power sources (if running) are active and their respective switches/breakers are closed.
- Auxiliary Power: Some manual switches have internal power for indicators or auxiliary functions. Verify this power supply is present.
- Loose Connections: Inspect all control power connections within the switch enclosure for looseness or damage.
- Generator Runs Unexpectedly (if tied to MTS logic):
- ATS Connections: If your "manual" switch has any automatic sensing or start capabilities (uncommon for pure manual but possible with integrated generator controls), check all ATS connections for proper wiring.
- Voltage/Frequency Settings: Verify voltage and frequency settings match your generator's output and utility parameters.
- Load Sensing: Ensure any load sensing circuits are working correctly and not falsely triggering a generator start.
- Generator Control Panel: Often, an unexpected generator run is an issue with the generator's control panel settings or a false signal from a remote start mechanism.
- Failure to Transfer (Mechanical/Electrical):
- Operator Error: First, ensure you are attempting to operate the manual switch correctly, engaging the handle fully and firmly.
- Physical Obstruction: Look for anything physically blocking the switch mechanism's movement—debris, loose wires, or damaged components.
- Damaged Mechanism: Inspect the manual operator handle and internal linkages for bends, breaks, or excessive wear.
- Contact Issues: If the switch engages but no power flows, the main contacts might be corroded, pitted, or misaligned. This requires professional intervention.
- Solenoid/Coil Issues (for mechanically-assisted MTS): Some larger manual switches might use a solenoid or coil to assist in the transfer mechanism. Inspect these for damage, overheating (discoloration), and proper resistance. Verify the coil's voltage rating matches the control voltage supply.
- Controller Backup Battery Low (for MTS with electronic controllers):
- If your MTS has an electronic display or logging capabilities, it likely has a small backup battery. When low, replace it according to manufacturer instructions.
- Component Replacement: What to Expect
- Before replacing any parts, always double-check for open switches, loose connections, or faulty wiring. These are often the simplest fixes.
- For sophisticated controllers, technicians may download system settings before replacement to ensure a smooth transition.
- Key components that might need replacement include:
- Contact assemblies (main and arcing contacts)
- Auxiliary switches (for signaling generator start/stop)
- Microswitches (for position indication)
- Power panels or internal wiring
- Arc chutes (to extinguish arcs during switching)
- Limit switch assemblies (to confirm position)
- Solenoids or rectifiers (for mechanically-assisted switches)
- Printed circuit boards (for electronic controls)
- Closing or trip coils (for specific operating mechanisms).
- Calibration: While some advanced control systems are factory calibrated, minor field recalibration might be needed after component replacement. This typically involves measuring source voltages and entering values into a setup screen—a job for a qualified technician.
When you're trying to figure out which manual generator transfer switches best fits your needs, remember that quality and reliability are paramount. Investing in a robust switch and maintaining it meticulously will serve you well for years to come.
Final Thoughts: Your Power, Your Peace of Mind
Your manual transfer switch is a silent guardian, waiting patiently for the moment it's called upon. But its reliability isn't guaranteed; it's earned through consistent, thorough maintenance and a proactive approach to potential issues. From your quick weekly glances to the expert annual overhaul, each step in this maintenance regimen builds a layer of assurance.
Don't wait for a power outage to discover your transfer switch isn't up to the task. By following this guide, understanding the safety precautions, and knowing when to call in the professionals, you're not just maintaining a piece of equipment—you're securing your peace of mind, ensuring that when the grid goes dark, your home or business remains powered and protected.